Your agency is ready to set you up for success! Please follow the instructions below to ensure your brand store permissions are properly granted.
Step 1: Granting Agency Permissions - Shopify
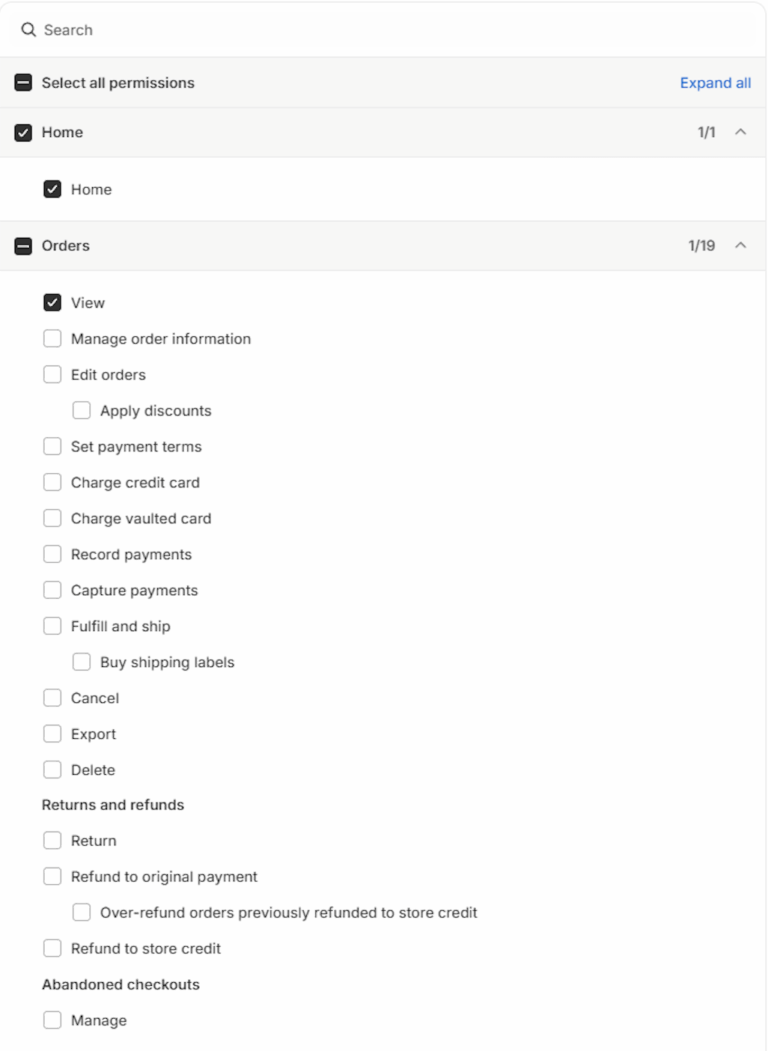
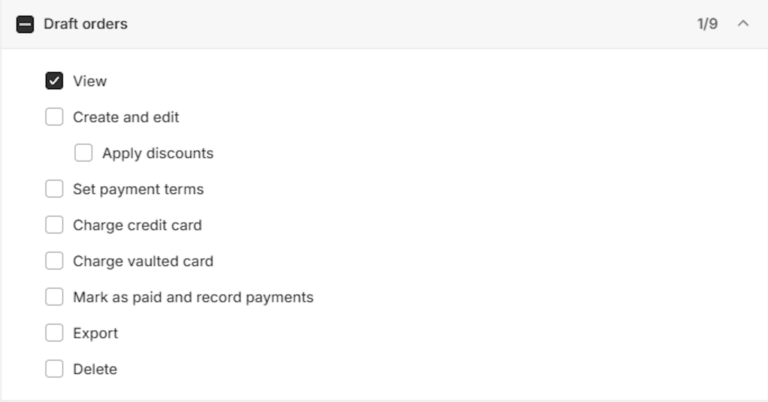
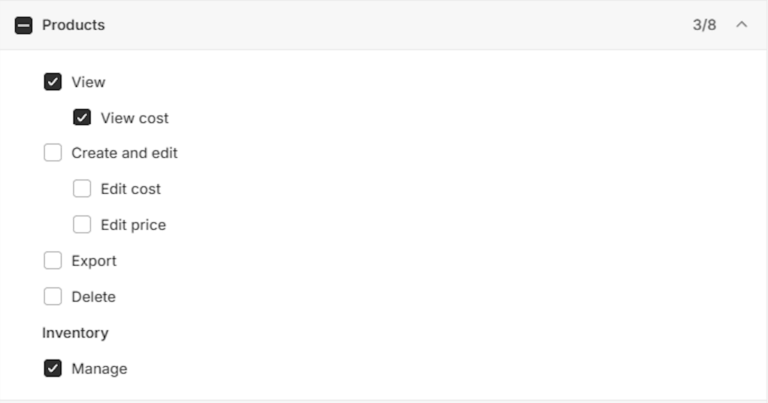
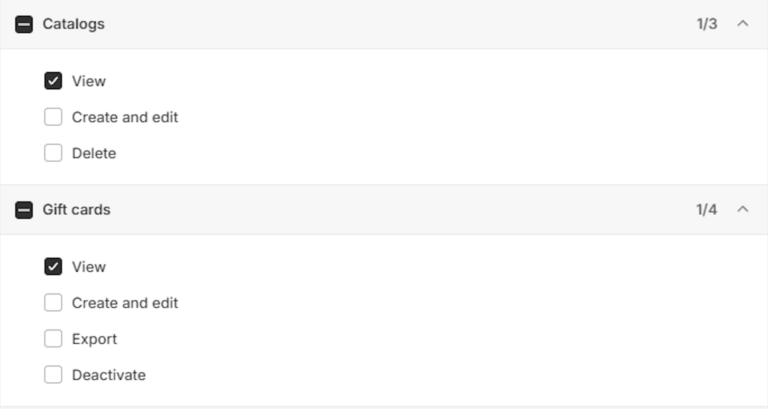
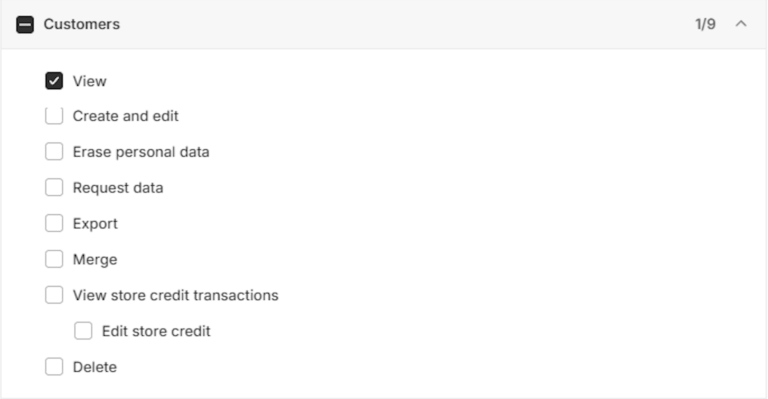
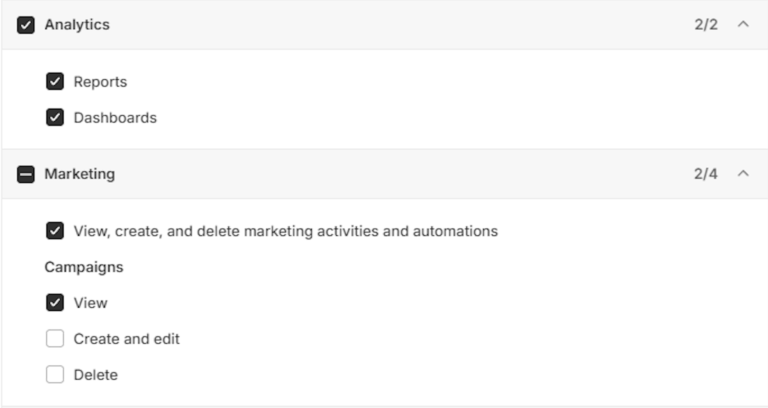
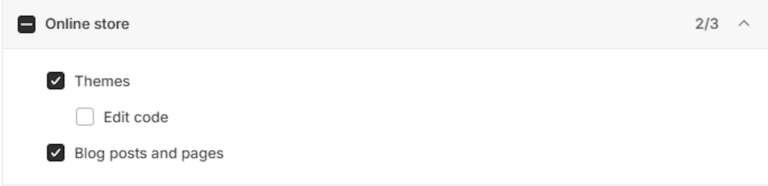
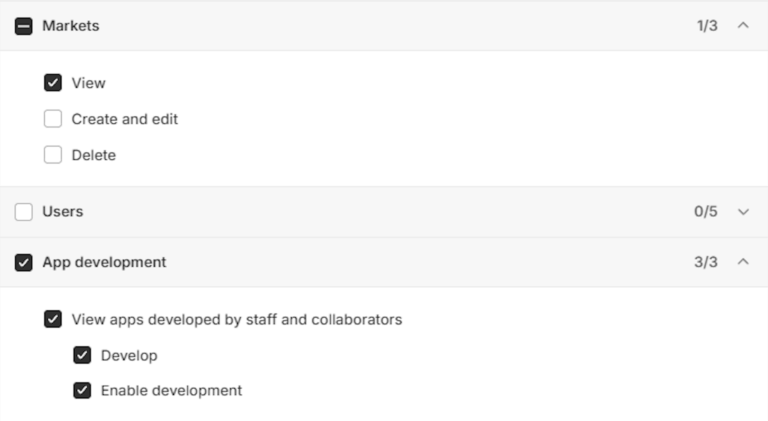
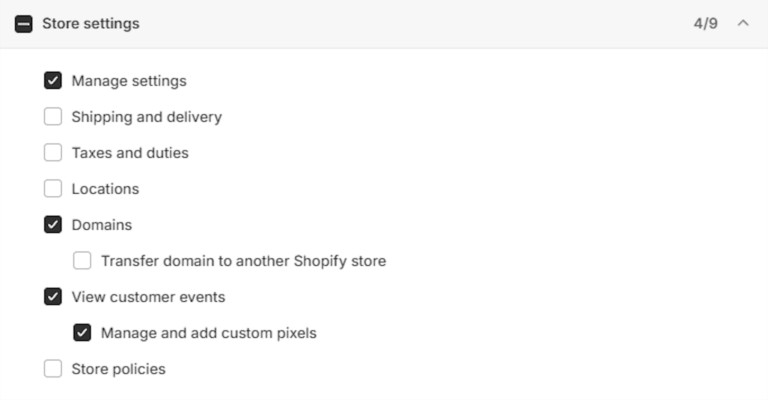
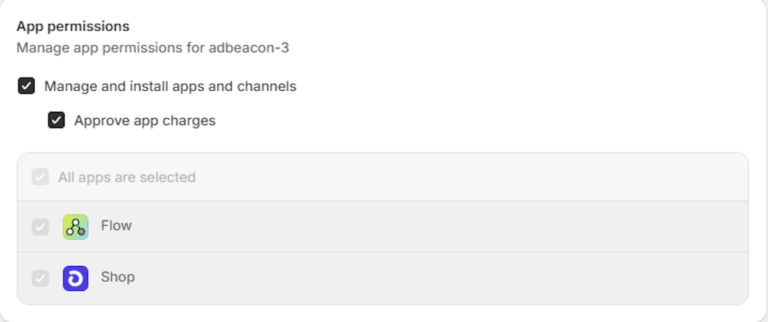
Collaborator permissions need to create and install the AdBeacon Shopify app. Please follow the steps below to ensure that permissions settings are correct.
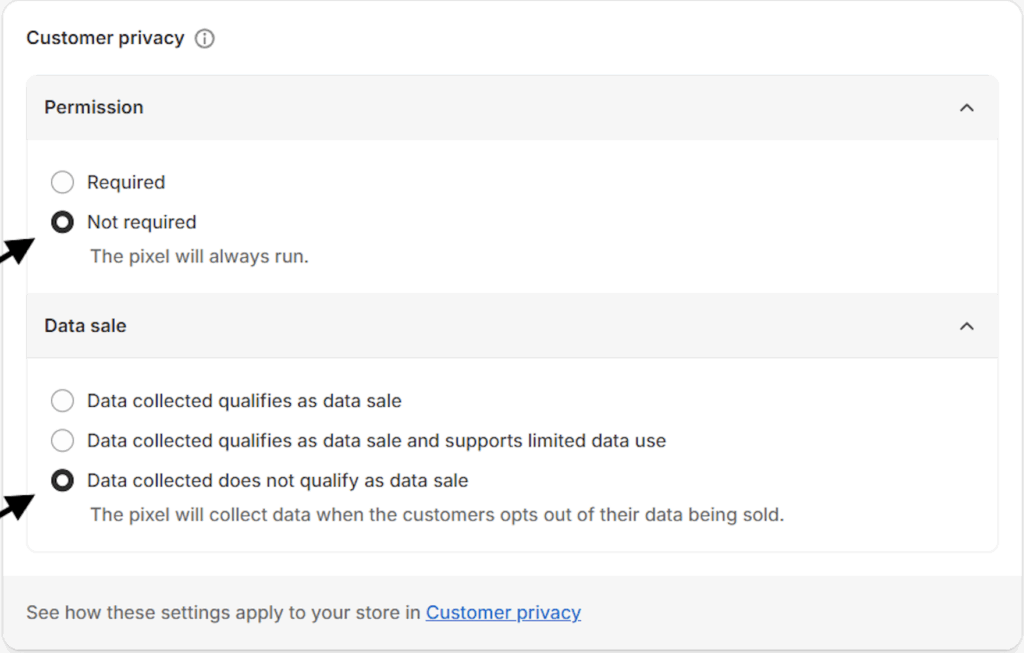
This final step is VERY important to ensure AdBeacon can effectively capture conversion accurately from your Shopify Store
Customer Privacy -> Permissions
Not Required
Data Sale (set to)
Data collected does not qualify as data sale
Your Set-up is Complete!
Once saved – your Shopify permissions should be all setup and ready to go.
Please contact/notify your agency partner so they know that your permission updates are complete and they will take care of the rest of your AdBeacon integration. Great job!
If you would like to learn more about what AdBeacon is all about – you can click here.
Check out the step-by-step instructions for integrating Shopify by clicking on the video above.
Step 2:Agency Integrates Shopify in AdBeacon
Step 1 — Create Your Store in AdBeacon
Log in to AdBeacon.
Click “Add Account.”
You’ll see a Welcome message – click Continue.
Fill in your store details:
Account Name (something descriptive)
Email Address (use your main business email)
Phone Number
Attribution Window
Reporting Currency
Time Zone
Date Format
Industry
Important: Check the box for Audit Account
Step 2 — Connect Your Shopify Store
In AdBeacon, click the Shopify button.
Enter your Shopify Store URL:
Open your Shopify admin.
Go to Settings → Domains.
Find your Primary Domain. (the “My Shopify” domain)
Copy the full URL (including https://). Example: https://www.yourstore.myshopify.com
Paste your store URL into AdBeacon.
Click Authenticate.
A pop-up will appear asking for permissions:
It may say things like “View personal data” and “View and edit store data”.
Click Install.
✅ You should now see a “Congratulations” message confirming your store is connected.
Step 3 (Optional for audit accounts) — Add the AdBeacon Pixel in Shopify
In AdBeacon, go to Customer Events.
Click Add Custom Pixel.
Name it AdBeacon.
In the code box, delete what’s there and paste the AdBeacon script provided.
Click Save (top of the page).
Click Connect (top-right corner).
Step 4 — Verify Your Pixel
Shopify may take a few minutes to detect the new pixel.
You can click Verify in AdBeacon to check, but it may not confirm right away.
If you get a warning message, don’t worry – it’s normal.
You can skip verification for now by clicking the X in the top-right and return later after connecting ad channels.
✅ You’re Done! Your Shopify store is now linked to AdBeacon, and the pixel is installed. Once Shopify confirms the pixel, you’ll be able to track customer events and optimize your campaigns.
If you are in need of any assistance in the set up process please feel free to reach out to us directly at Support@AdBeacon.com